It’s probably been years since you’ve been upside down. As kids we never had the fear of flying, but over time we become more cautious and loose trust in ourselves. Well it’s time to change all of that.
Let’s flip the world upside down and change our perspective on things! Follow these step by step instructions and get back the feeling of soaring!
Step 1- Steady Your Base
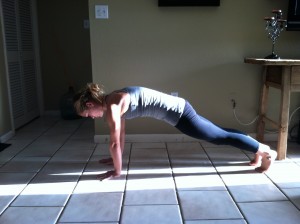
We all know that it takes a strong foundation to stabilize any structure, handstands included. So let’s start with the basics! Drop and get into your plank. Squeeze your glutes and tighten your abdominal. Keep a neutral neck and spine. Create a straight line from head to toe.
You can practice the key to headstands while in your plank pose; get your shoulders out of your ears! Pull them back and activate your trapezius, deltoids, and rhomboids. This is your handstand. This is the position you want to be in. Take note of the hollow position your midsection has formed. It will come in handy.
Step 2- Get Ready To Climb
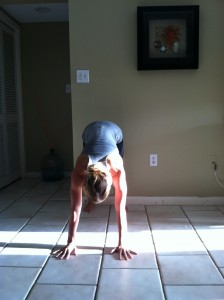
Take down your newest piece of art from your wall and roll out a yoga mat. Start in a Downward Facing Dog meeting your heels to the wall. Start to walk your feet up keeping your hands where they are, moving into a 90 degree angle. Remember: shoulders out of the ears!
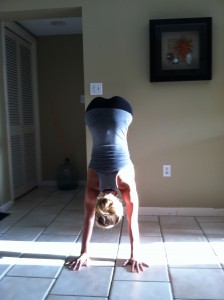
Step 3-Easy Does It
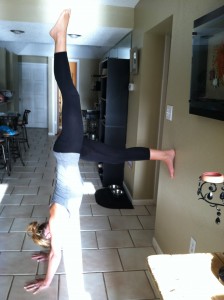
Once you stack your shoulders on top of your wrist begin to take the right toe off the wall pointing it straight up towards the ceiling. Just hang out here and get comfortable with being upside down. Try out both feet until you feel comfortable leading with your favorite foot. Then slowly start to walk back into your down dog.
Step 4- Go For It!
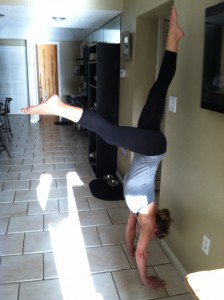
Come back into your down dog this time hands facing wall. Place the palms flat, about shoulders distance apart, and stack the shoulders over the wrist. Rotate the triceps in and broaden the upper back. Walk your feet slightly in and start lifting your favorite leg. With your hips being square to the wall bend the bottom knee and softly take a few hops here working those hips on top of your shoulders. Take your time here.
Step 5- Get Comfortable!
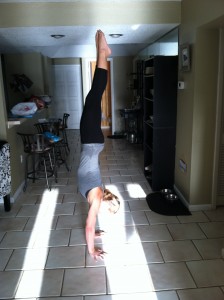
Once the hips get all the way over the shoulders and both feet get to the wall, lengthen the tailbone up. Draw the ribs in, engage the forearms in and keep your gaze slightly forward. Remember your plank position. Shoulders out of ears and hollow through your midsection. Remember to breathe!
Step 6- Enjoy The World From a New Perspective
Of course with anything new practice makes perfect over time and you’ll be able to use the wall just in case. But for now enjoy the feeling of using your hands for feet!
To learn more about handstands, headstands, and other arm balances join me August 4th at Heat Yoga and Fitness in Clearwater for the Soar High Workshop. To find out more info call 727-216-3997.
 About the Author
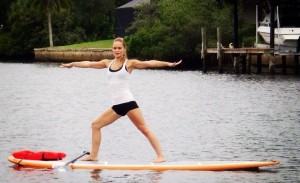
Heidi Templeton is a former competitive gymnast and Bay Area yoga instructor specializing in vinyasa, hot, and standup paddle board yoga. Heidi shares her zest for all things health and wellness at www.facebook.com/HeidiFit.
